Fun bloggy news: I’m a KinderMom!

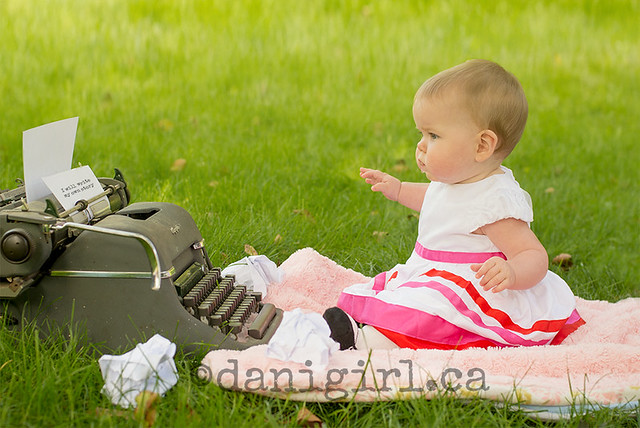
I remember getting Kinder eggs from my grandparents when I was a kid, just about the same time they first became available in Canada in the early 1980s. (Did you know the brand is 40 years old?) I was fascinated by the exotic milky white insides of the chocolate eggs, aside from loving the wee surprise inside. Though I’m not a huge fan of chocolate, the kids know when they have a Kinder egg they always have to save a bite of that light/milk chocolate combo for me. They’ve always been one of my favourite treats to give and to get.

That’s why I am happy to tell you that for the next year I’ll be working with Kinder Canada – I’m a Kinder Mom! The boys are, of course, absolutely delighted with the news.

I’m pretty happy about it too. Although I’ve bought a lot (seriously, a LOT!) of Kinder Surprise treats through the years, I had no idea about some of the fun things they’ve been up to. For instance, just last month they set an official Guiness World Record in Toronto for the most people unwrapping chocolate at the same time. And starting this month, you’ll find a whole new set of Kinder Surprise toys: there are eight different Transformers toys and ten Disney Fairies toys available in specially marked Kinder Surprise eggs, for a limited time only. Let me know if you see them in Ottawa – we’ve been hunting high and low for them!

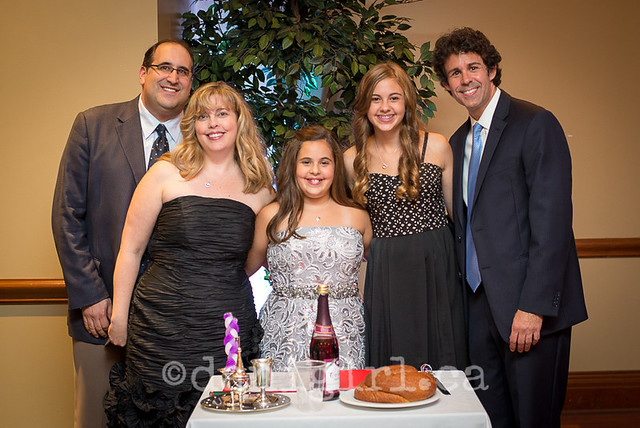
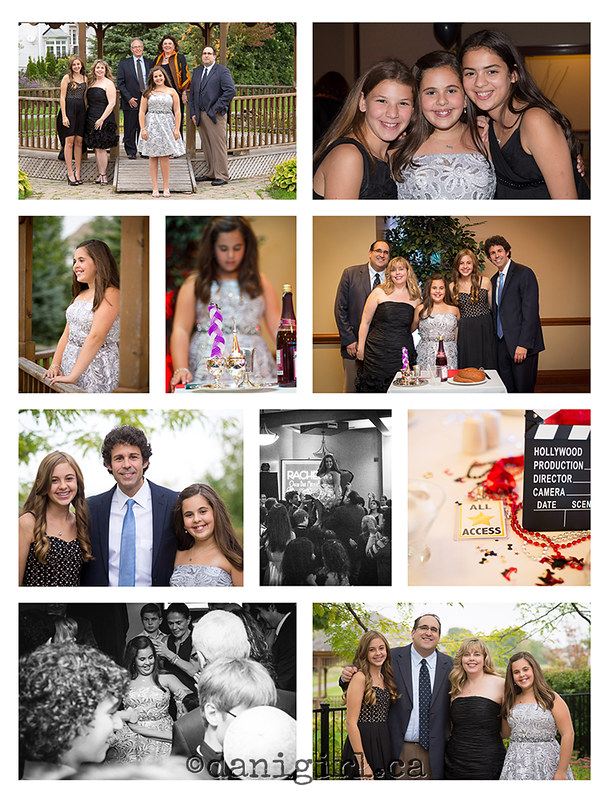
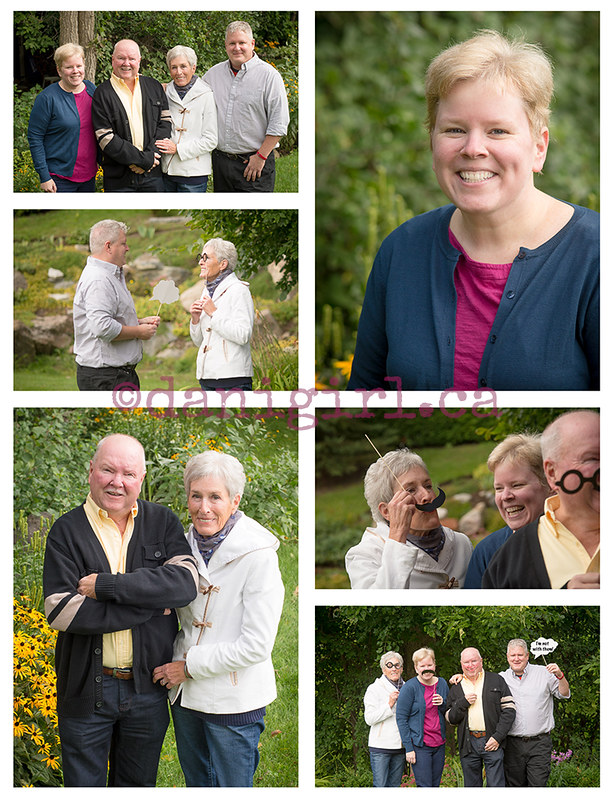
The folks at Kinder Canada are all about the family fun, which seemed like another wonderful reason to partner with them on this year’s campaign. Feeling like a little online fun? Try the Kinder Smile booth app on the Kinder Canada Facebook page. You can take photos using your smartphone or webcam, or upload existing photos, and turn them into a #kindersmiles photobooth strip, like the one above! (I’m pretty sure some cities have actual Kinder Photo Booth locations where you can do this in real life, but I don’t think there is one here in Ottawa.)

For a little more tactile fun, Kinder has partnered with Curiosity Box and they’re offering a limited edition Kinder SmileBox including crafts, activity ideas and more. I got a sample pack to play with and we are having a LOT of fun with the photo booth props. Just ask Kerry’s family! 😉

So, TL;DR: smiles, chocolate, family activities, chocolate, silly photo fun, chocolate, happy boys (and Beloved!) and chocolate. You can see why I didn’t hesitate to join the Kinder Canada family, right? 🙂 More Kinder fun, and maybe even some treats to share, coming up soon – stay tuned!

DISCLOSURE: I’m a #KinderMom/Maman/Dad who is part of the KINDER® Canada influencer team. As part of my affiliation with KINDER® Canada, I am provided with special perks and products. All thoughts and opinions are my own.

Weekend family fun: Culture Days at City of Ottawa Museums

Did you see the forecast for this weekend? It’s like the summer we forgot to have! There’s no excuse to stay inside, so here’s an idea – get out and enjoy Culture Days with free admission at one of Ottawa’s museums.

At the Cumberland Heritage Village Museum, they’re exploring “vintage social media” (ha!): “Experience the days of radio and movie magic! In the days before television, iPads, and texting, the family radio and the weekly movie screening were the social media of the day. Everyone gathered around radio sets in family homes to listen to weekly broadcasts of their favourite shows like Little Orphan Annie. Have fun as a modern family learning how to build a radio set transmitter, listening to authentic historic radio broadcasts, watching silent films, and having fun with our film crew activity to learn about gaffers, grips, sound artists, producers, and directors. If you have a future Steven Spielberg at home, this is the event for you! On Sunday, local producers and artisans from the Cumberland Farmers’ Market will be selling their goods – locally grown fresh fruit and vegetables, meats, pastries, alongside artisanal products – at their first Harvest Market.” Free admission!

Cumberland Heritage Museum

The Billings Estate National Historic Site is also offering free admission for culture days. The museum will be open for self-guided tours to learn about the history of the site, settlement in Billings Bridge, and the trades that helped them prosper. Admission to the exhibition, use of family-friendly Experience Backpacks, and access to the activity room in Sally’s Kitchen are included. Free!

I’m thinking the fall colours will be lovely out at Pinhey’s Point Historical Site this weekend! Explore the site with a self-guided tour and scavenger hunt that will encourage you to find details about the site that you never knew before. Free!!

If you’re all booked up with fun this weekend, make sure you make room on your calendar next Sunday, October 5, for the hilarious and popular Smashing Pumpkins event at the Cumberland Heritage Village Museum! One of their most popular events, you definitely don’t want to miss the chance to watch your pumpkin launched by a trebuchet across the west field towards a giant bulls-eye target! Aside from the absolute fun of launching things across a field, this event teaches about flight technology in the 1920s and 1930s. Make a model airship, play with model trebuchets, and take in some storytelling before decorating your pumpkin for its flight. If you planted a pumpkin in the fall, now’s the time to harvest it! Regular museum admission charges apply.

Pumpkin heads

Check the links above for specific information about locations, hours and programming.

Disclosure: The City of Ottawa is a sponsor of this blog and has provided some of this information. However, all opinions are always my own.

Photo of (a few days ago): Rachel’s Bat Mitzvah

You might remember this beauty from her Hollywood-style portraits on the porch this summer. Those portraits were in preparation for this weekend’s big event, Rachel’s Bat Mitzvah at Stonebridge.

Rachel's Bat Mitzvah family photograph

I’d never been to a Bat Mitzvah before, and I really enjoyed researching the traditions behind the event. The ceremony and party were warm and full of affection from family and friends. Here’s a taste of the day:

Candid photographs and family portraits from Rachel's Bat Mitzvah

It was a little bit of Hollywood, a lot of family and friends, a whole lot of smiles, and at the centre of the fuss one lovely girl, beautiful inside and out. It was an honour to be a part of your day, Rachel – thank you! 🙂

Another book cover!

You might remember I was pretty excited earlier this year when I found out that one of my photos of Lucas was being used on the cover of a book by author Brando Skyhorse. That came about through Getty Images.

Around the same time, I was contacted by a tiny independent press in Tennessee. They had found one of my photos of Manotick’s famous mill on Flickr and wanted to use it on a cover of a book of poetry. It took a while, but the book is now for sale on Amazon.com and Amazon.ca. How fun is that?

Book cover!

Here’s the original photo, taken way back on New Year’s Day 2011.

Watson's Mill in the fog photograph

Funny, it’s not even my favourite image of Watson’s Mill. I offered them several others, but the publisher felt this photo was just the right evocative image to go with the collection of poetry. From around the corner in Manotick to a publisher in Tennessee for a book of poems written in New England. How can you not love the Internet?

Photo of the day: Writer’s Block

Oh the photos! Oh the cuteness! Oh the fun!

It has been a really spectacular week in photos for me. From meeting new neighbours and working with old friends on the weekend to photographing my first-ever Bat Mizvah this coming weekend, with a quick stop for mid-week adorable today, it’s an insanely busy week but oh so much fun!

You might remember this young lady from the spring session I did with her family. Mom wanted a photo of her showing off her newly acquired habit of sitting up, so we did a few traditional portraits on the porch (I’ll share those soon!) but then she let me have a bit of a creative play. I had originally conceived an idea that involved giant colourful balloons and a basket and a ladder – but maybe it’s best that I never did get organized enough to execute that one. (See aforementioned reference to crazy busy!) Instead, we came up with this:

Writer's Block

I call it “Writer’s Block.” 🙂

Stay tuned, more unbearable cuteness to share soon!

Photo of the day: Apple box (before and after)

When it comes to editing portraits, I tend to prefer a “clean edit” – tweaks for contrast, exposure, and vibrance (I love saturated colours!), but not too much more. Well, I also have a hopeless addiction to vignettes. But sometimes I see something that just cries out for a more artistic play, like this crate that was lying around in the apple orchard just begging me to take its photo.

apple box after

I’ll freely admit that I really went to town on this one. I used not one but two texture layers and the oil painting filter in Photoshop. It comes very close to what I wanted though – an impressionistic interpretation of the original image. Just for reference, here’s the *coughboringcough* clean edit before I started heaping layers on it.

apple box before

I had to really pull down the contrast to make the apples stand out more, and then I used textures with lots of warm golden tones and a bit of edge burning for the vignette effect. I like it, but I’m not totally in love with this one. It’s still too much just a picture of a box to me – I think because the original photo wasn’t quite as strong as it could be. THAT’s a lesson I’ve learned over and over again — all the fancy digital editing in the world rarely helps a mediocre photo be anything more than mediocre. It’s still missing a little je ne sais quoi – but because it’s just a photo I was playing with for funsies, it’s good enough for sharing.

What do you think? Are you interested in the details of how to do stuff like this?

Photo(s) of the day: Kerry’s family

It’s not every family that would let you pull out the silly props on a stick for their family photo shoot. But when it IS that sort of family, it makes for a REALLY fun family photo session!

Silly prop family portrait fun by Danielle Donders

It wasn’t all silliness, but laughter comprised a good part of the morning. That and a truly lovely family made for a whole lot of great photos.

Adult outdoor family portrait by Danielle Donders

My first love will always be taking portraits of kids at play, but it turns out playful grownups can be just as much fun — and maybe even a whole lot less work!

Thanks to Kerry and your sweet family for a lovely Sunday morning out! 🙂

In which she discusses allergic reactions to red tattoo ink with the Universe

It went something like this:

**ring ring**

Hello?

DaniGirl! It’s the Universe calling. It’s been a while, so I thought I’d check up on you.

Hey Universe! Great to hear from you. How’s that supernova in Betelgeuse 5?

Shining bright, DaniGirl! Hey, speaking of “shine” – I see you got a tattoo a couple of weeks ago!

I sure did! I was thinking of you – you saw the design? Three stars!

It looks great and I love the design. That red star is giving you some trouble though, isn’t it?

Ugh, yes. It’s been two weeks since I got the tattoo and everything has healed beautifully, except that red star. The skin around it is still swollen and blotchy and you can barely make out the star shape. This is how it looked last Friday.

At least it’s not as bad as you first thought it was.

No, you’re right about that. When a week had passed and the scabs started to heal on all the other parts of the tattoo, I started getting concerned because the skin around the red star was a little *too* red, and sort of angry looking. Here’s a bit of advice for you, Universe. Never, ever do a google image search on “skin reactions to red tattoo ink” unless you want some really horrific images burned into your brain.

Oy, I can imagine. And by the time you’d finished your Internet research, Dr Google told you some things you weren’t too happy about, eh?

I was somewhere between annoyed and horrified when I found out that most reactions to tattoo ink result from the fact that there’s mercury in the red ink and cadmium in the yellow.

Mercury? Yikes! Isn’t that toxic?

You’d think so, right? And I’ve always been sensitive to metals – I can’t wear earrings that aren’t pure gold or silver, and my gums react to metal fillings. When I read that there was likely mercury in the tattoo ink, I was pissed. How could I have missed that in all the research I did on tattoos before I got one? And then I started reading all sorts of stuff about how the heavy metals in the tattoo ink can affect things like MRIs – crazy!

So did you get it looked at?

Yes. By the time I found out about the mercury and whatnot, a week had passed and while the rest of the tattoo was healing nicely, the red star looked more like an angry bee sting. My friends actually convinced me to call Telehealth while I was waiting to hear back from the tattoo shop and the nurse insisted I present myself to a doctor within four hours when I described what was going on and the fact that the reaction seemed to be escalating. I stopped in at the tattoo shop on my way to the walk-in clinic and they reassured me that they haven’t used mercury in tattoo ink in a long time.

You must have been relieved! So what’s in the ink that’s causing the reaction?

The list of ingredients is pretty benign: distilled water, alcohol, witch hazel and “organic non toxic pigments”.

Heh. That’s not too specific, is it?

Not really. But it’s still better than mercury and cadmium! The senior tattooist in the shop took a look at the reaction and said in 30 years of tattooing, he’s seen about five reactions like mine – each time to red ink. I’m special! He said if I were to eat a hundred red Smarties, I’d probably react to that, too. To which I replied that 100 Smarties would send me into a diabetic coma, but I did get his point. It was simply the red dye to which I was reacting, and not some toxic heavy metal sludge.

I’ve always known you were special, DaniGirl. So did you go to the clinic?

I did. While I will happily crowd-source medical advice from the Internet, I wasn’t willing to give the final word to the erudite opinion of a guy without a medical degree. I did feel hella sheepish presenting myself to the clinic, though. To his credit, the doctor who saw me did not make light of the situation. Unfortunately, it was me who schooled him on tattoos and the prevalence of reactions to red ink, but he did say he wasn’t particularly concerned about it and did not see the need to remove the tattoo or the leg. It was clearly, in his opinion, an allergic reaction, and suggested some Benadryl cream would take down the swelling.

So what happens now?

We wait it out, I guess. That was a week ago, and the swelling and blotchyness are down a bit but not completely. It’s hard to tell what the actual red star part of the tattoo looks like, but it’s certainly not as crisp and bright as the blue and green stars. It seems possible that my body will just reject the ink entirely, and it will either push it out or I may react on and off to it for years.

Huh. That’s annoying. What will you do if your body does push the ink out?

Well, the whole idea was to get THREE stars, and getting rid of one kid to better match the deep symbolism of my tattoo is probably not an appropriate course of action. The tattoo shop said they’d be happy to retouch it for me in a couple of months if that happens, but I’m not convinced that’s a smart idea. I suppose I could get the third star re-tattooed in a different colour, say a nice maroon or a non-cadmium yellow.

But then you lose your clever “RGB” symbolism?

Right. And I do hate to circumvent my own cleverness.

Uh huh.

So I guess I’ll just wait and see and hope for the best.

I gotta say, DaniGirl, you do find the most unique ways to find bloggy fodder, don’t you?

All in the name of a good story, old friend. I am a cautionary tale.

Indeed. Well, take care of yourself, DaniGirl. We’ll chat again soon.

I’ll look forward to it, Universe. I always do.

Photo of the day: First birthday portraits on the porch

Steady yourself. This photo has dangerous levels of adorable in it. Don’t say I didn’t warn you!

This lovely little lady came to the porch on the weekend for portraits for her first birthday. Is she not the most precious thing?

Portrait of one year old girl

But oh, if you think THIS photo is cute, you should see some of the other ones. We’re talking pink tutus, fairy wings and chubby little baby toes, people. I’ll share more once I finish editing the rest of them, but this is one of those galleries that I can’t wait to share with the family.

You really have to work hard to get portraits of a moving baby (equal parts patience, silliness and sore quadriceps from getting up and down off the floor!) but with a beauty like this, they’re more than worth the effort! And lookit those eyelashes…. *swoon*

Sea glass mobile tutorial

Remember this? This was the bounty of sea glass that turned us into junkies way back in 2010 on our trip to Nova Scotia.

512:1000 Our sea glass collection

Since then, we’ve added to our hoard from PEI to Vancouver’s Stanley Park, but I never did do anything more creative with it than keep it in glass jars stashed around the house. Not even terribly nice glass jars. Oh the shame! Every now and then I’d pull it out and sort through it, feeling rather like Gollum muttering “my precious sea glass” as I sniffed the last vestiges of salt from the pieces.

Three things happened to inspire me to finally do something with our collection. The first was adding to our collection in Souris, PEI. The second was a bit of spare time on my hands, thanks to the vacation entitlement that comes with 24 years of service. And the third was — Pinterest. One day it occurred to me to search for sea glass crafts on Pinterest and I was immediately smitten with the idea of a sea glass mobile. I didn’t want to start drilling the glass or playing with wire (although I’ve still got a LOT of sea glass so I’m not ruling that one out!) but I did love the idea of simply using string and glue. Easy peasy, right?

Of course, actually executing the plan turned out to be a lot more complicated than I’d anticipated. I set out to get some stretchy filament like you’d use in making a bracelet from the Sassy Bead store downtown. The clerk there recommended against stretchy filament (more prone to breakage) and instead sold me a couple of meters of what seemed like very fine fishing line. I also picked up some E6000 adhesive. I’m not sure where I got that idea from – probably a random Pinterest link. The idea was to tie a piece of glass, tap in a blob of E6000 to hold the knot, tie on the next piece, etc etc etc.

Ha. Not so much. The fishing line nearly drove me batty as I tried to tighten and knot the loops around the sea glass. I tried on two separate occasions to make it work, and got frustrated before I could get three or four pieces on the line. Finally, I reached out through Etsy to Rebecca Long, whose work had inspired me in the first place. She was nice enough to point me in the direction of this episode of Martha Stewart Living (confession: first time I have every watched this show!) with a sea glass mobile tutorial.

So here’s what I learned about making sea glass mobiles from Rebecca and Martha:

  • use braided fishing line. It’s way easier to knot, but also difficult to cut. I got mine at the Manotick Bait and Tackle shop – first time in four years of living around the corner I had the opportunity to visit their taxidermy-filled shop. o_O
  • use a glue with a built-in brush. I gave up on E6000 and a tooth pick in favour of Lepages with a brush and it made a world of difference. And miracle of miracles, I did not once glue my fingertips together.
  • lay out your pieces of sea glass ahead of time.
  • leave twice as much of a lead (for tying to the driftwood or other frame) as you think you will need, and then double it again.
  • take your line and make a simple loop over your fingers, pulling the end through the loop to start a knot. Slip your fingers out and the glass in, and make a knot tight against the top of the piece of sea glass, then fold the tail down alongside the thread. Brush from the knot to the bottom of the glass along the two threads with glue.
  • move on to the next line and repeat on all your threads, then go back and put the second piece on the first thread.

sea glass mobile-2

In the end, I bought three types of twine and two types of glue, and it took about four hours of futzing about before I finally started making progress. What you see here actually only took about 60 minutes, once I got a good rhythm going. I love how it turned out! That’s an authentic piece of PEI driftwood, by the way. I picked it up exactly with this purpose in mind.

I also found a better way to store the left-over sea glass. Did I mention I have a new addiction for vintage mason jars?

sea glass_

So now we HAVE to go back to PEI to collect more sea glass, so I can make more mobiles! 🙂

sea glass mobile

Once I got the details sorted out, this was a surprisingly easy craft – what a great way to show off your summer treasure, right?