We’ve had our dining room chairs for 15 years now. The summer we got married, we got them from the As-Is bin at Ikea, I know because the words “as is” are still written on the underside of them in indelible sharpie. For the $30 or so we paid for them, they’ve been worth their weight in gold – three moves, two dining room tables, three sloppy kids from high chairs to boosters to toddlers and beyond, and two puppies with the need to gnaw on things.
Back in 2007, when Tristan was five and Simon was three and Lucas was but a twinkle of an idea, the chairs were looking a little rough so I re-upholstered them. (Man, I have been blogging a l-o-o-o-n-g time! Blog is starting to outlast some of the fixtures and furniture!!) Seven years later, they were looking pretty ragged (actually, they started looking pretty ragged at least a year ago, and Bella did not do much to ameliorate the situation) and I’ve been idly thinking about re-re-upholstering them for quite a while.
Beloved and I were running errands in Ikea the other day and we found a pattern we liked, so I picked up three metres’ worth for the princely sum of $30. I vastly overestimated how much I’d need, but I figure I can stash the extras in case of emergency deployment of red wine or other indelible stain. If I were true to form, the bolt of material would sit untouched for months or perhaps years before I actually got around to doing anything with it, but it’s vacation season and my eyes were crossing from editing photos from my latest session, so I thought I’d see if upholstering the chairs would be as painless as I remembered.
Astonishingly, it was. Start to finish, stripping and upholstering five chairs took less than two hours. Here’s one “before” and one “after” chair – you can see why we thought perhaps it was time to re-cover them! I especially like the bit where the entire seam is torn out and you can see the original cushion. It’s only been like that for eight or nine months.
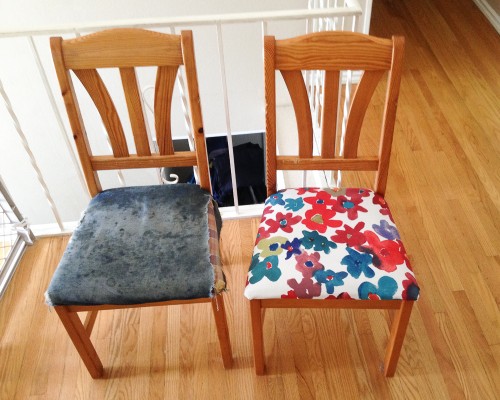
I had considered simply wrapping the new fabric around the earlier re-upholstery job, but decided it would likely be lumpy. The most time-consuming, if not difficult, part of the job was pulling out the staples and de-upholstering the 2007 job. I recruited minions to do that while I worked on the new upholstery.
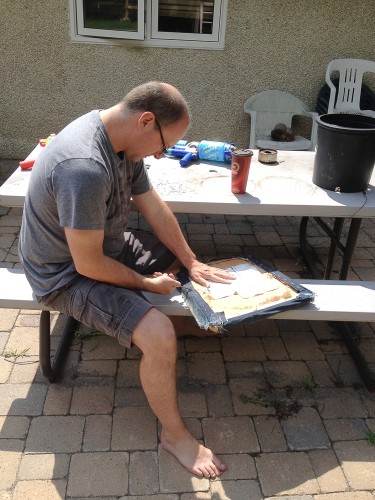
The actual upholstering is dead easy. I cut the fabric into polygons the same shape as the cushion, leaving a margin of about a hand-width on all sides.
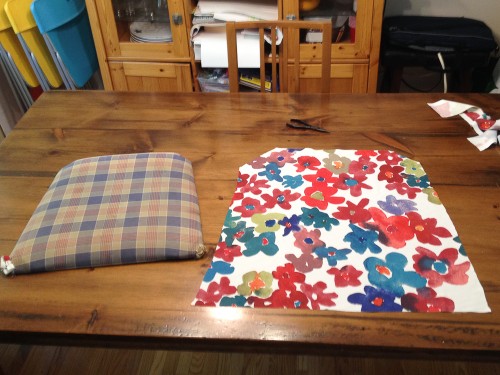
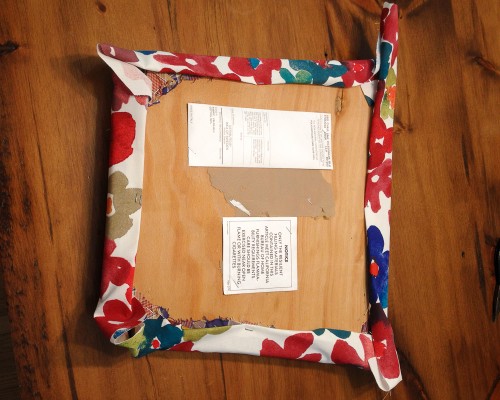
I centered the cushion in the middle and folded up one edge, doubling it over and tucking the raw seam under to make it a little stronger. One staple in the middle, turn 180 degrees and do the same on the opposite side, pulling the fabric taut but not so tight it pulled at the staples on the opposite side, then popped in another staple. At this point, I flipped the works over to make sure I liked where the pattern was centred and, erm, to ensure I was stapling the fabric right side up. (Never assume, my mother taught me.) I specifically chose this pattern because it would be very forgiving – no lines that must be straight, and the print pattern was random enough that it could go just about any which way, and small enough that it didn’t really matter where I centred the cushion. Very forgiving!
Once I was happy with how it was lined up, it was just a matter of doing the same to the other two sides and then stapling about a hundred more staples around each seam. Staples are cheap, don’t be stingy with them!
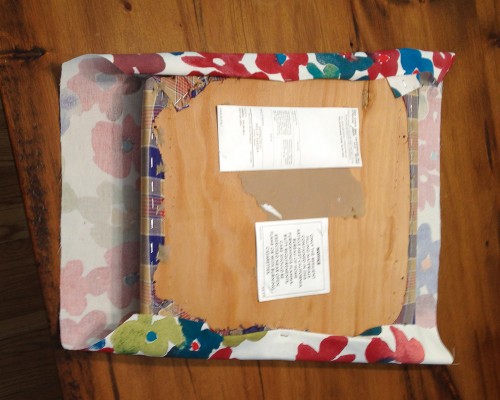
I didn’t take a close-up of the corners, but I more or less combined the way you tuck in a sheet to make hospital corners (I suck at making beds) with the way you make corners with gift wrap when you’re wrapping a present (I am much better at wrapping gifts.) The fabric is fairly forgiving, so I sort of made it up for each corner, but I did cut a triangle off the end of each corner to reduce the bulk of the fold. Just don’t cut too close to your edge or it will come untucked and fray. And staple the holy snot out of it.
I’m really happy with how they came out, and the fact that I managed to avoid stapling my finger to anything. I figure we’re good for another six or seven years. We’re certainly getting our As-Is money’s worth out of these chairs. 🙂 And then to top off a productive day, I made slow cooker bacon jalapeno beans, roast pork tenderloin wrapped in bacon (thank you Chef Michael Smith!) and roasted Roots and Shoots summer veggies – potatoes, onions, beets and carrots. Damn, I should take a vacation more often!
